
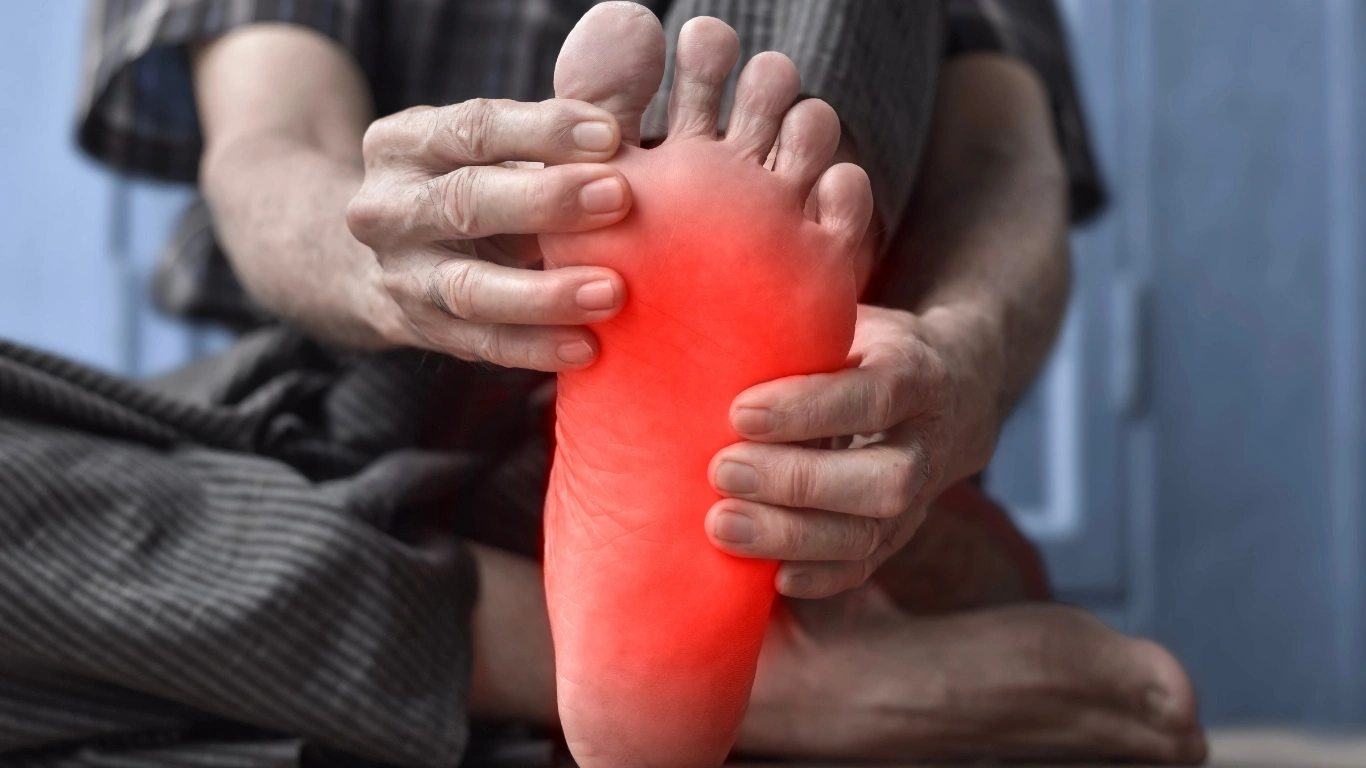
Burning feet can keep you awake. Numb legs can make an ordinary walk to the bathroom feel uncertain.
Ignoring that weakness is risky after 60 because neuropathy can change how you walk, reduce your ability to sense the floor, and raise your chance of falling.
The right exercises cannot magically repair every damaged nerve, but they can ease stiffness, strengthen the muscles that protect your feet, improve balance, and make daily movement feel safer.
Before starting these exercises, speak with your doctor, especially if you have diabetes, heart disease, poor circulation, an open foot wound, severe balance problems, or recently worsening numbness.
What Exercise Can Actually Do for Neuropathy
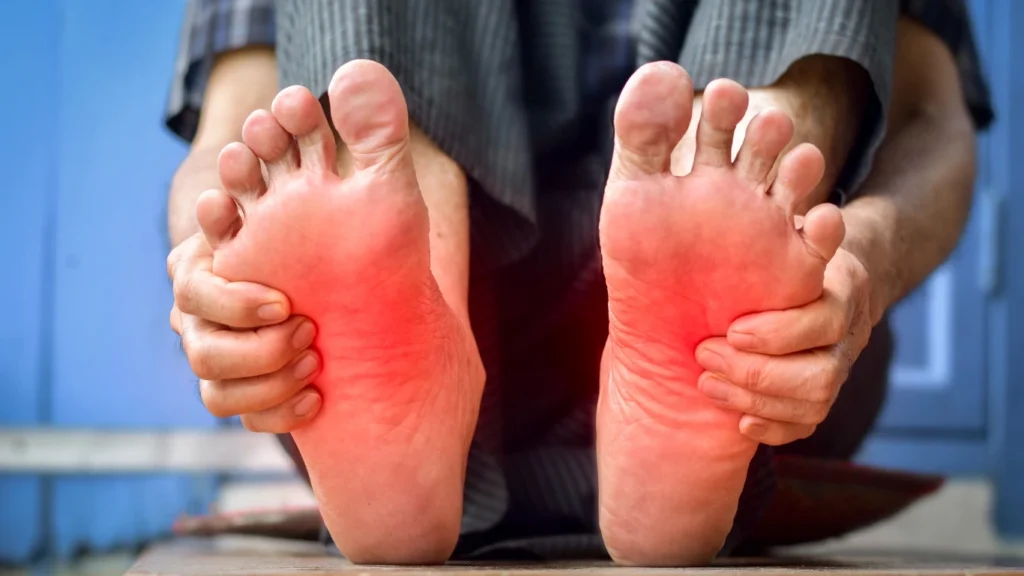
Peripheral neuropathy damages nerves outside the brain and spinal cord. It commonly causes burning, tingling, numbness, weakness, pain, balance trouble, and difficulty sensing where the feet are positioned.
Diabetes is a leading cause. High blood glucose and elevated blood fats can injure nerves and the small blood vessels that deliver oxygen and nutrients to them.
However, neuropathy can also result from vitamin B12 deficiency, kidney disease, thyroid problems, alcohol use, certain medications, infections, chemotherapy, or direct nerve injury.
That distinction matters. Exercise may improve movement and symptoms, but the underlying cause still needs treatment.
| Exercise may help with | Exercise cannot reliably do |
|---|---|
| Ankle stiffness and reduced joint motion | Cure every cause of neuropathy |
| Weak calves, feet, thighs, and hips | Replace blood glucose management |
| Poor balance and slower reactions | Heal an infected ulcer |
| Reduced walking confidence | Correct a severe vitamin deficiency |
| Blood glucose control and general circulation | Replace prescribed nerve pain treatment |
| Physical deconditioning | Diagnose why numbness is worsening |
NIDDK notes that physical therapy may be used to improve strength and balance. Physical therapists also use moderate activity, coordination work, and carefully selected movement to help people with peripheral neuropathy remain active.
The strongest exercise research involves diabetic peripheral neuropathy. People with neuropathy from another cause may still benefit from mobility, strength, and balance training, but their program may need different precautions.
Why Feet and Legs Become Less Reliable After 60

Healthy nerves constantly tell the brain where the feet are, how much pressure is under each foot, and whether the body is beginning to sway.
Neuropathy weakens that stream of information. The brain then has less time to correct a stumble, especially on slippery flooring, uneven pavement, stairs, or poorly lit paths.
Muscles can also weaken when pain causes someone to move less. The ankles become stiffer, steps become shorter, and the feet may not clear the floor as easily.
Research involving people with diabetic neuropathy shows that strength, ankle mobility, balance, gait, and sensory awareness are all reasonable rehabilitation targets.
A 2022 randomized trial followed 78 adults with diabetic peripheral neuropathy. After a 12 week foot and ankle exercise program, participants improved fast walking speed, ankle motion, and vibration perception compared with usual care alone.
Your Quick Exercise Guide
These are cautious starting ranges rather than personalized prescriptions. Begin at the lowest number shown and use a sturdy chair, counter, or railing whenever you stand.
| Exercise | Main target | Starting amount | Suggested frequency |
| Ankle pumps | Ankle movement and calf activation | 10 to 20 repetitions | Once or twice daily |
| Ankle circles | Joint mobility and position awareness | 5 circles each direction | Once daily |
| Seated heel and toe raises | Calves and front shin muscles | 10 to 15 repetitions | 3 to 5 days weekly |
| Toe spreads and presses | Small foot muscles | 8 to 12 repetitions | 3 to 5 days weekly |
| Seated calf stretch | Calf flexibility and ankle motion | 20 seconds, twice per side | Once daily |
| Chair stands | Thighs, hips, and functional strength | 5 to 10 repetitions | 2 to 3 days weekly |
| Supported calf raises | Calf strength and push off | 8 to 12 repetitions | 2 to 3 days weekly |
| Supported heel to toe stance | Balance and weight control | 10 to 20 seconds per side | 2 to 3 days weekly |
| Walking or recumbent cycling | Endurance and glucose control | 5 to 10 minutes | 3 to 5 days weekly |
The American Diabetes Association advises most older adults with diabetes to perform flexibility and balance work two or three times each week. Resistance exercise is also recommended two or three times weekly on nonconsecutive days.
1. Ankle Pumps to Wake Up Stiff Feet
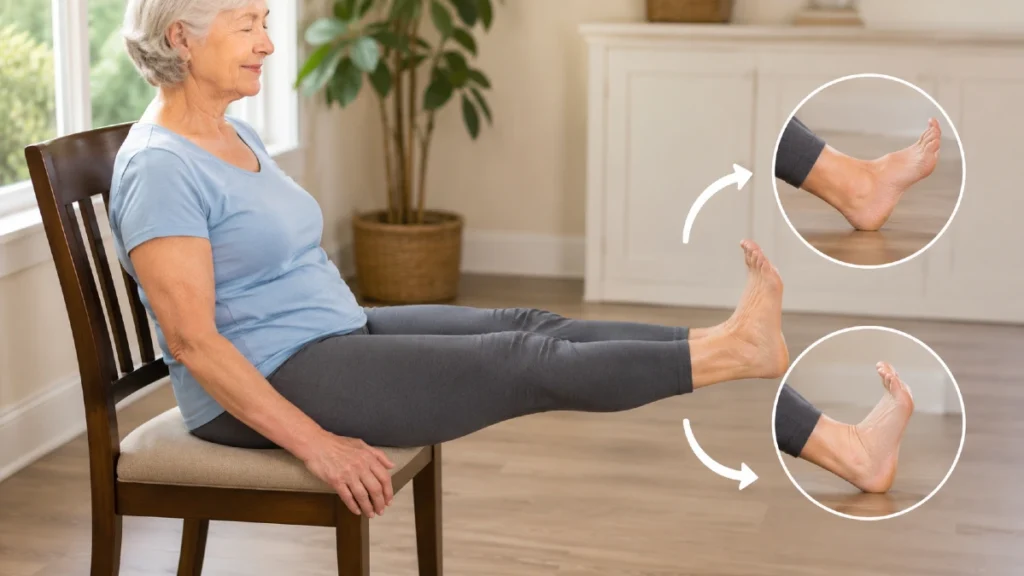
Sit in a supportive chair or lie on your back. Slowly point your toes away, then pull them toward your shins as far as is comfortable.
This movement activates the calf and front shin muscles while taking the ankle through a gentle range of motion. It can be especially helpful before standing after a long period of sitting.
Complete 10 slow repetitions at first, then build toward 20. Move both ankles together if that feels easier, or alternate feet if one side needs more attention.
Avoid forcing the toes through sharp pain. A gentle pulling sensation is acceptable, but burning that suddenly intensifies means the range may be too large.
2. Ankle Circles for Better Joint Awareness
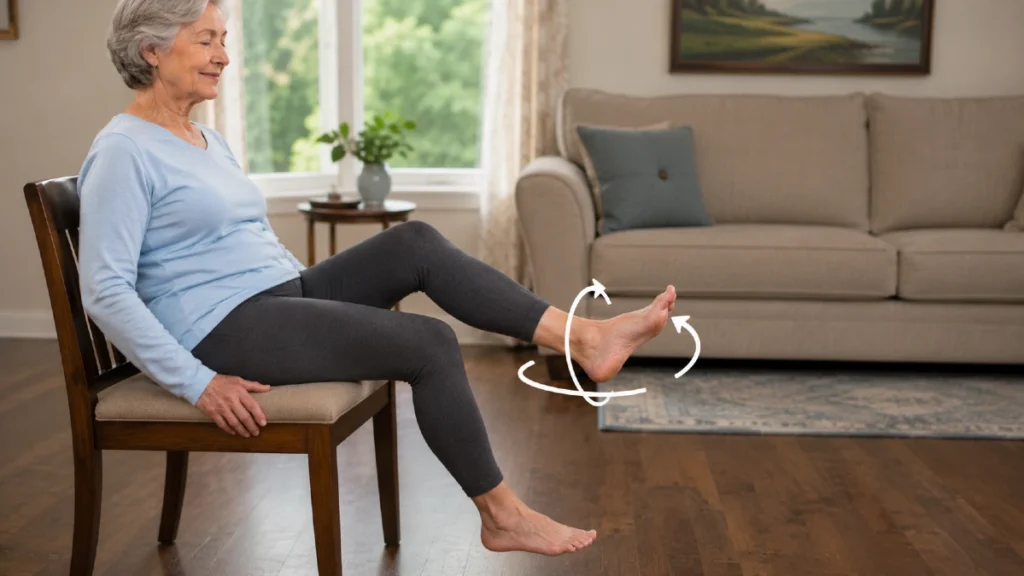
Lift one foot slightly from the floor while keeping the thigh supported by the chair. Draw five slow circles with the toes, then reverse direction.
Ankle circles move the joint through several directions instead of only forward and backward. This gives the brain repeated information about the position of the foot, which may support coordination when sensation is reduced.
Keep the movement controlled. Large, fast circles may trigger cramping or cause the knee to rotate instead of the ankle.
A simple alternative is tracing the letters of the alphabet with the toes once. Stop before the ankle becomes tired or sloppy.
3. Seated Heel and Toe Raises to Improve Foot Clearance
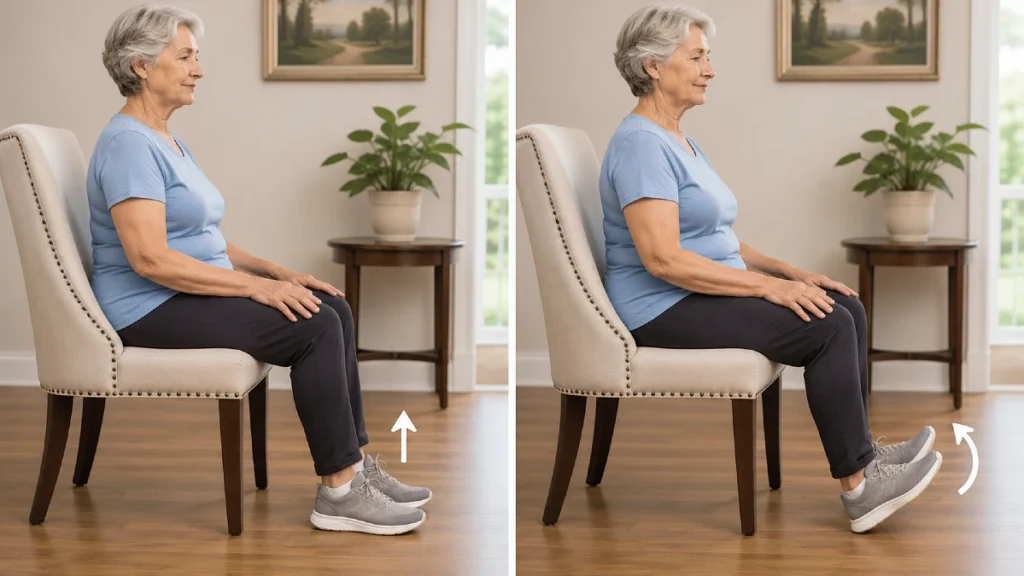
Place both feet flat on the floor. Lift the heels while keeping the toes down, lower them, then lift the toes while keeping the heels planted.
The heel raise activates the calf muscles used to push the body forward. The toe raise strengthens muscles along the front of the shin that help lift the foot during walking.
Perform 10 to 15 controlled repetitions. Pause briefly at the top instead of bouncing.
Difficulty lifting the front of one foot may be a sign of significant weakness or foot drop. New or worsening foot drop requires medical assessment rather than repeated home exercise alone.
4. Toe Spreads and Presses for the Small Foot Muscles
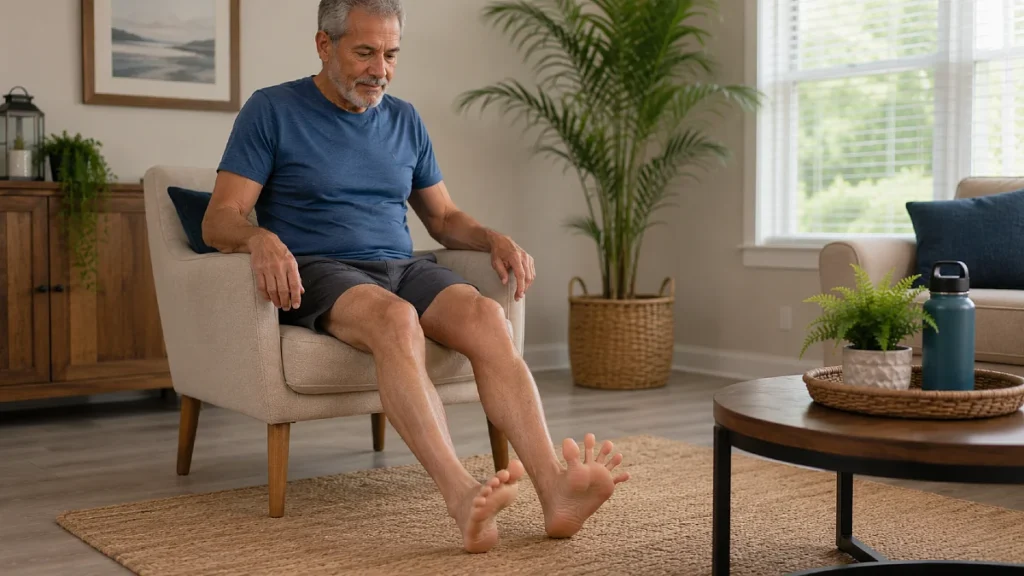
Sit with the feet supported and wear clean socks with a grip surface if the floor is slippery. Spread the toes apart, hold for two seconds, then relax.
Next, press the toes gently into the floor without curling them forcefully. These movements activate small muscles that help stabilize the toes and support the foot during standing.
Try 8 to 12 repetitions of each movement. Concentrate on smooth control rather than how far the toes move.
Some people cannot spread their toes at first. Looking at the foot while attempting the movement can provide extra visual feedback when normal nerve feedback is weak.
5. The Seated Calf Stretch for Tight Ankles
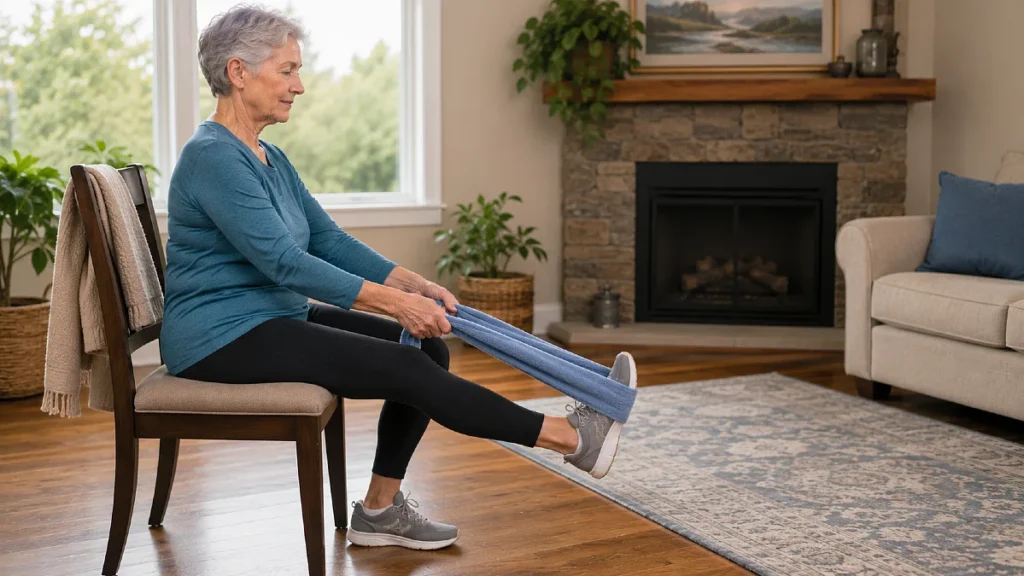
Sit near the front of a chair and extend one leg. Loop a towel around the ball of your shoe and gently pull until a stretch is felt behind the lower leg.
Hold for about 20 seconds while breathing normally. Repeat twice on each side without bouncing.
Tight calves limit how far the shin can move over the foot. That reduced ankle motion may shorten the stride and make stairs or uneven ground more difficult.
Keep the knee slightly bent if a straight leg causes discomfort behind the knee. Do not place a towel directly over damaged skin, a blister, or an ulcer.
Individual conditions vary. Ask your doctor, podiatrist, or physical therapist to modify these movements if you have severe circulation problems, a previous foot ulcer, Charcot foot, joint replacement restrictions, or pain that increases during exercise.
6. Chair Stands to Rebuild Leg Strength
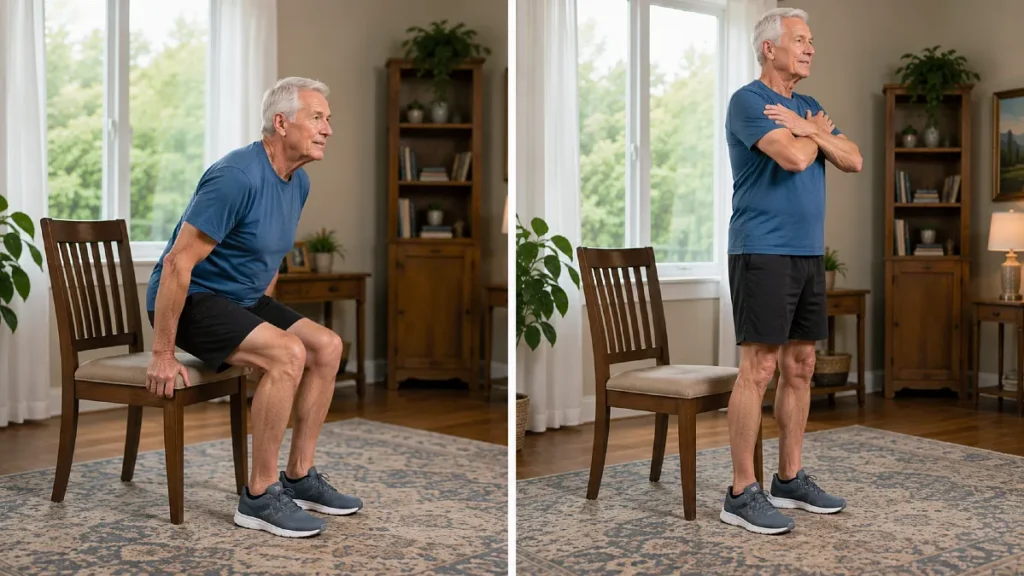
Choose a sturdy chair that will not slide. Move toward the front, place the feet about shoulder width apart, lean forward, and stand using the armrests if needed.
Slowly sit back down with control. Start with five repetitions and gradually build toward 10.
Chair stands strengthen the thighs and hips, which help compensate when sensation in the feet is unreliable. Stronger upper legs also make toilets, stairs, cars, and low chairs easier to manage.
Place the chair against a wall for extra security. Stop if you become dizzy, unusually breathless, or unable to lower yourself safely.
7. Supported Calf Raises for a Stronger Push Off
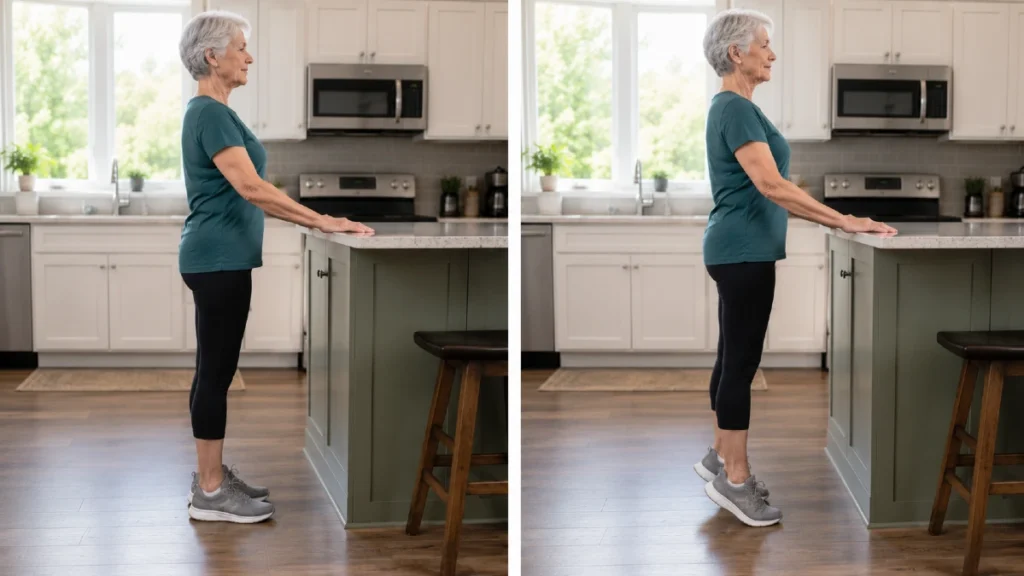
Stand facing a kitchen counter with both hands resting on it. Rise onto the balls of the feet, pause, then lower the heels slowly.
This exercise strengthens the calves and challenges ankle control under body weight. Calf strength contributes to forward movement, step length, and steadiness when the body shifts over the feet.
Begin with 8 repetitions. Progress toward 12 only when every repetition remains controlled.
Keep your weight distributed across both feet. People with severe numbness should perform this in supportive shoes so they can reduce pressure and protect the skin.
8. Supported Heel to Toe Stance for Balance
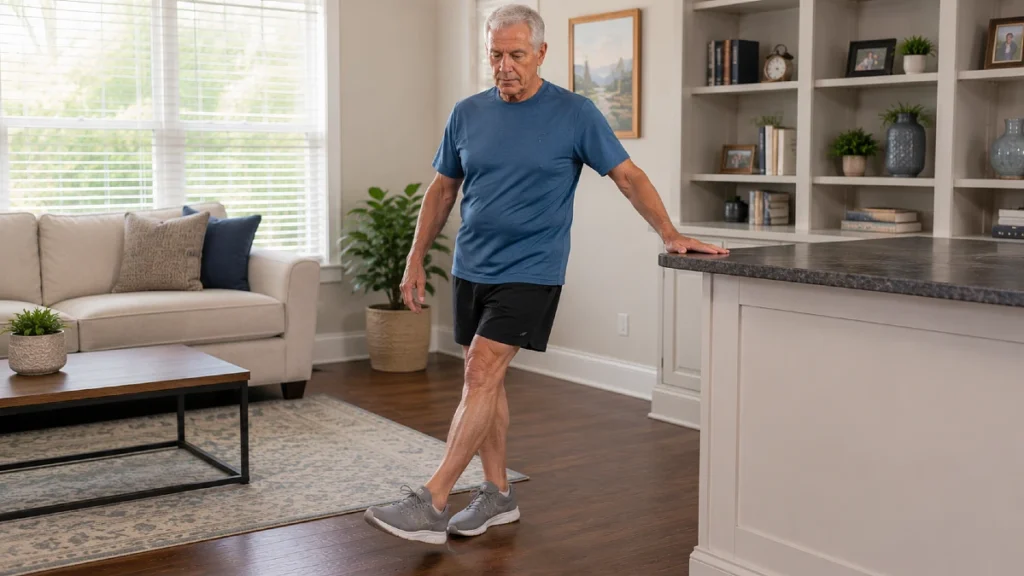
Stand beside a counter and place one foot slightly in front of the other, as though standing on a narrow path. Hold the position for 10 seconds while keeping one or both hands near the support.
Moving the feet closer together narrows the base beneath the body. This teaches the hips, ankles, vision, and remaining sensory signals to work together more efficiently.
A 2024 systematic review examined 16 rehabilitation studies involving people with diabetic neuropathy who were already at risk of falling.
Six studies improved balance enough to change participants from moderate or high fall risk to low or no measured risk, although the review stressed that results were not consistent across every program.
Never practice this with your eyes closed unless a physical therapist is supervising. Progress by using lighter fingertip support, not by removing the counter entirely.
9. Short Walking or Recumbent Cycling Intervals
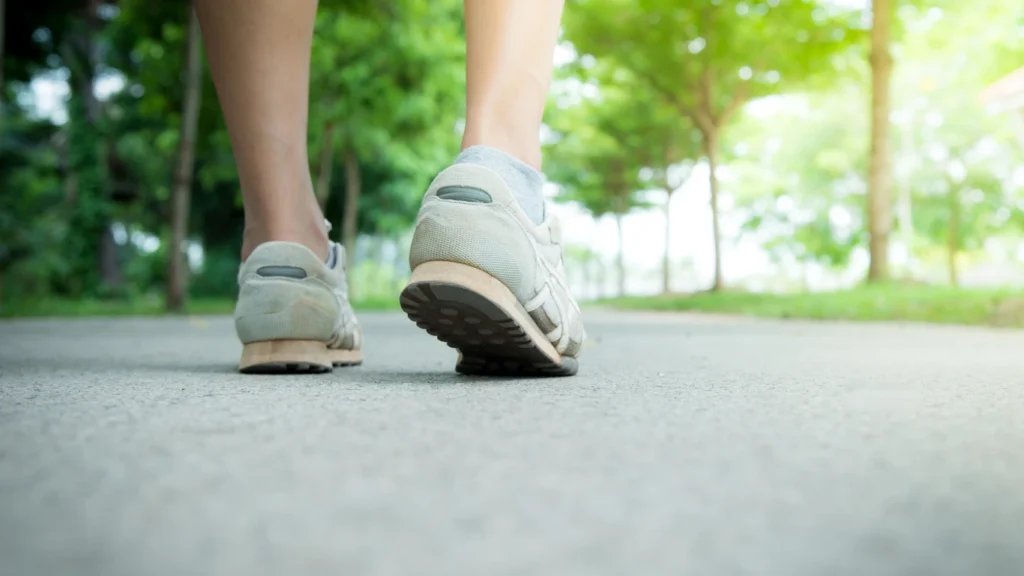
Begin with five minutes of comfortable walking in supportive shoes. A recumbent stationary bicycle may be a safer alternative when standing balance is poor or pressure on the feet must be limited.
Aerobic activity supports cardiovascular fitness, glucose management, muscle endurance, and the ability to remain active.
Mayo Clinic advises people with peripheral neuropathy to work toward regular exercise with a health professional’s approval, commonly aiming for 30 to 60 minutes at least three times weekly.
You do not need to begin near that target. Add one or two minutes only when the current duration does not increase pain, skin irritation, exhaustion, or unsteadiness.
Walking is not appropriate over an open sore or a newly swollen, hot, or deformed foot. A clinician may recommend cycling, seated exercise, swimming, or another lower pressure option instead.
The Daily Habit That Protects Numb Feet
Try this every time you exercise
The Daily Habit That Protects Numb Feet
Reduced sensation can hide pressure, rubbing, cuts, or blisters. Build protection into the moments before, during, and after activity.
- Inspect every foot surface Check the tops, soles, heels, and spaces between the toes.
- Choose supportive, roomy shoes Make sure the toes have enough room and are not pressed together.
- Check socks and shoe interiors Remove stones and correct rough seams, moisture, or folded fabric.
- Stay near stable support Exercise beside a counter, rail, or another stable surface.
- Keep the area well lit Clear visibility makes hazards and changes easier to notice.
- Repeat the complete foot inspection Recheck the tops, soles, heels, and spaces between the toes after exercise.
- Record anything new Note redness, swelling, blistering, or pain that was not present before activity.
A Simple Four Week Starting Plan
The goal is consistency, not exhaustion. Research programs showing meaningful improvements often lasted about 12 weeks, so the first month should be viewed as a careful introduction rather than a final result.
| Time period | Mobility work | Strength and balance | Aerobic activity |
| Week 1 | Ankle pumps, circles, calf stretch | Seated heel and toe raises | 5 minutes, 3 days |
| Week 2 | Continue daily mobility | Add chair stands twice weekly | 6 to 8 minutes, 3 days |
| Week 3 | Continue daily mobility | Add supported calf raises and heel to toe stance | 8 to 10 minutes, 3 or 4 days |
| Week 4 | Maintain comfortable range | Complete the strength routine 2 or 3 days | 10 to 15 minutes, 3 or 4 days |
Strength sessions should have a recovery day between them when the legs feel tired. Gentle ankle mobility may be performed more often when it does not irritate symptoms.